Acrylic-Wërks Instructions Page
Acrylic-Werks Instructions
Supplies Needed:
2 really cheap washcloths
1 buffing towel (cloth baby diapers work great if you can find them)
Small bucket of clean water
General directions:
1. This is an acrylic polish, not a wax. It is best applied in full sun or on a hot surface. (the paint pores are more open under those conditions)
2. Since this is not a wax, do not apply like a wax. NO putting it on, letting it dry, and then buffing it out. (application directions are below) Also, NO swirl application-this product should be applied using an east/west and north/south motion. (see below)
3. It can used on almost any surface of the car (or boat, motorcycle, RV, etc.) including all plastic trim, headlights (with some exceptions…it depends on what the manufacturer coated them with), wiper blade arms, bumpers, rims, glass, interior dash (replaces the totally useless Armor All product) etc. Because it is not a wax and can be applied to so many surfaces, you don’t have to worry about getting it in places other than the intended area.
4. Work a small area at a time for best results.
5. Under no circumstances should you apply wax after the acrylic polish is applied unless you like wasting time.
Application instructions:
1. Clean the surface as much as possible before starting. (while we have used this directly on a car caked in mud, it is not recommended) TIP: Work on a specific area instead of the entire hood or side of the car. This will make it easier to work on and you will immediately see the difference and improvement in that area as opposed to non-applied areas.
2. Take one of the cheap washcloths, dip it in clean water and wring out as much as possible. You want a slightly damp cloth. Fold in quarters and apply a quarter size amount of polish on the cloth. Spread with finger on cloth. Apply to the surface using north/south & east/west strokes. Use the palm of your hand to apply pressure, rather than your fingertips. What you pull off of the car will depend on the condition of the surface being worked. You will pull off old wax and dead paint cells which will show up on the surface of your cloth. If you are getting a lot of this material (will show up as black, bronze, gold etc., depending on surface color and any applied treatments or wax jobs) simply refold the cloth, dab a little more polish on and continue until the cloth is free of any surface contaminants.
If the surface is in extremely rough shape, you may need to lightly apply polish to the surface, let it work in for a few minutes, and then wipe forcefully. When the cloth is free of contaminants, you have achieved a polished acrylic-protected surface.
Also, if you are working on plastic trim that is not smooth, it may be necessary to spread a little polish on the surface and work it in with a small finger brush. (available at most auto parts stores) Let it stand for a few minutes to work into the irregular surface and then wipe off.
3. Take the remaining cheap cloth, dip it in the water and squeeze out about half of the moisture. Lightly go over the area you just polished. Again use N/S & E/W strokes. The water will help “set” the acrylic polish. You should have a slight sheen of water on the surface.
4. Finally, take the buffing cloth (diaper) and buff the surface to a shiny finish, again using the same stroke pattern. If this is a painted surface such as a hood or side of a vehicle, you should be able to not only see a noticeable difference to adjacent non-worked areas, but also be able to feel a difference on the surface. Plastic trim should be in like-new condition and very reflective. (depending on the surface)
5. Repeat as needed.
Remember, your vehicle, boat, motorcycle, or RV did not get in the condition it’s in overnight, so it will take some time and effort to fully restore it. Some areas may require a little more polish and elbow grease than others, depending on their condition.
6. GENERAL WASHING/CONTINUED MAINTENANCE
Use a couple of tablespoons in clear water as a wash for regular maintenance. Wash as you normally would (no soap or other products needed), rinse thoroughly, and hand dry. The drying is critical to this process as, in the initial application, this step will remove any residual material left on the surface, even after rinsing. Step back and enjoy a surface that will appear that you’ve spent time detailing!
Headlamp Restoration
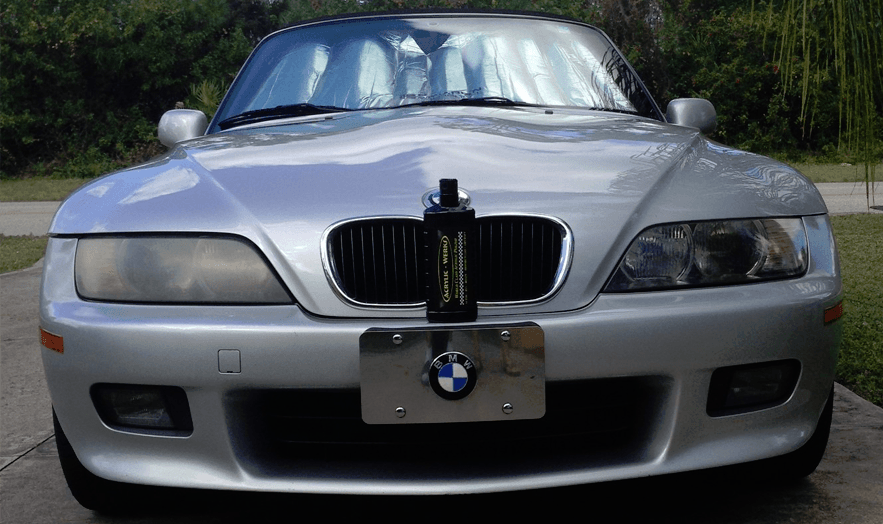
The number one issue with later model cars are headlamps that get foggy, hazy, or yellowed. A dealer will tell you that it is “inside” the lens and that it needs to be replaced for big $$$! In 99% of cases, this is not true and they are simply after your money. If you do see condensation inside the lens, then your seal has failed and probably will need to be replaced.
Another “myth” in this area is that the headlamp needs to be sanded to be restored. Again, only slightly true. ANY automobile that has not had the headlamps clear coated DOES NOT need to be sanded. Examples include almost every Asian manufacturer such as Toyota/Lexus, Nissan/Infiniti, Honda/Acura, Kia, and many American models including Ford, GM, etc. Manufacturers that sometimes clear coat headlamps include Mercedes and BMW.
If a lens has been clear coated, you should notice a “line” or clearly visible area that shows peeling of that clear coat. Unless it has been totally worn off, you should be able to spot this and know that sanding will be necessary. We recommend that you apply as normal and, if clear coated, the area that has failed entirely will not improve but the area (usually above it) will become much clearer. Below are specific instructions for both conditions.

Acrylic-Wërks Instructions for Headlamps-Basic Process
Cloudy and milky headlamps are one of the most common issues that we see. In some states, cars must pass mandatory safety inspections and if there is not enough light output, the car fails inspection. While every car make, model, and model year can be different, we strive to provide some general guidelines so that you can choose the correct method to restore headlamps to a like-new condition.
Many dealers will claim that the cloudiness is on the inside of the lamp and that replacement lamps, which can cost several hundred dollars, are needed. In most cases, that is entirely untrue. In about 75% of headlamps with this issue, a small amount of Acrylic-Werks Polish and 10-20 minutes of your time is all that is required to have crystal clear headlamps.
We have cleaned hundreds of headlamps with this product. As previously stated, the vast majority of headlamps can be cleaned with the general application process. If that does not work, a sanding process may be necessary.
So the big question is, how do you tell which process to use, basic or sanding? It’s actually pretty easy in most instances. Take a look at the headlamps. If they are yellowed or simply cloudy, they can usually be restored using the basic application process. If the headlamps show signs of material peeling, flaking, or running, it usually indicates a failing clear coat and sanding is usually the best option for these situations. (see headlamps-sanding process)
Acrylic-Wërks Instructions for Headlamps-Sanding Process
If you have determined that your headlamps are suffering from failed or failing clear coat or other contaminants, the only long lasting solution to this is a sanding process. Yes, we are aware of wipe on products that provide TEMPORARY clarity, but you are only covering up the issue if you don’t remove the source of the cloudiness.
While sanding does take more time than the basic application, it is the only proper way to restore a headlamp that has any type of coating on it.
There are several sanding kits available from local auto parts stores. The one we prefer is the 3M Sanding kit. (just use the sanding portion, not the compound or other post-sanding material that comes in these kits) If you use compound (which contain abrasives) on a newly sanded surface, you are introducing micro-swirl marks on the surface. These swirl marks will trap wax or other contaminants and will eventually turn the same yellow or cloudiness that you are attempting to fix.
- Mask off all paint areas around the headlam
- Polish the headlamp with Acrylic-Werks Polish to remove any residual material and to provide a clean base for the sanding process.
- Follow the instructions on the sanding kit. This usually consists of wet-sanding with two different grits of sandpaper. Usually you start the wetsand process with a 500 grit paper and then move up to an 800 grit paper. These two grits should remove all of the clear coat or other residue on the headlamp.
- The last step in the sanding process is to wet sand with a 3000 grit paper. This smooths out the lamp surface and prepares it for the application of the Acrylic-Werks Polish.
- Apply the Acrylic-Werks Polish as shown in the general application instructions. Because you have sanded off all of the coating causing the cloudiness, you should really not pull off anything in the application cloth.

Acrylic-Wërks Instructions for Convertible Rear Window
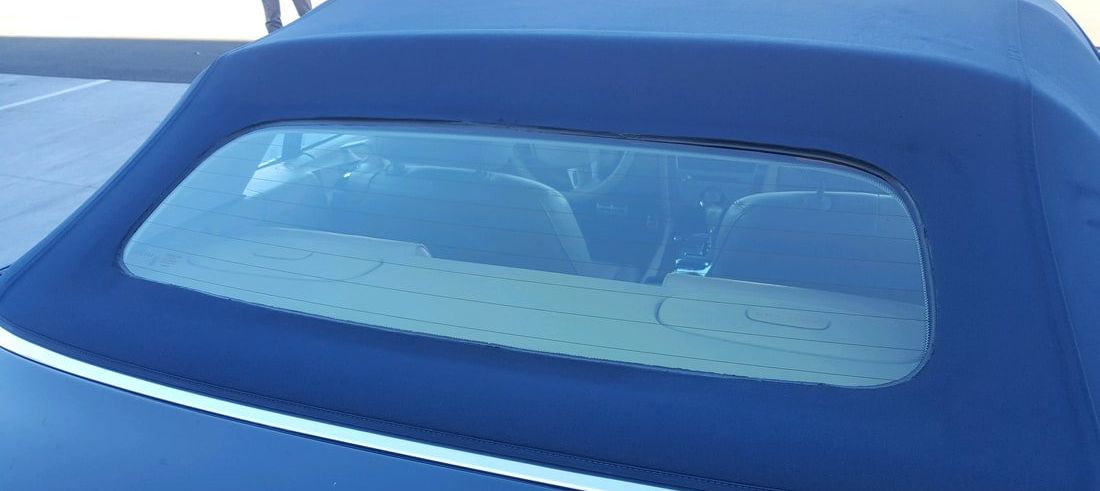
Many older model convertibles, such as BMW, Alfa Romeo, and Miata, used soft plastic for the rear window. Over time, due to sun damage and age, these windows turn cloudy and yellow and become difficult to see out of. Again, the repair industry would like you to believe that these need to be replaced (for hundreds of dollars) and some repair shops will tell you the entire canopy needs to be replaced! This simple solution, with maybe 30 minutes of your time (depending on condition) will, in most instances, get them back to clear and usable.
Application instructions are generally the same as the basic application process, but here are a few tips to make the process go smoother.
1. Apply in direct sunlight. (or when the surface is warm) It will make the job easier as the surface will be more porous and easier to remove oxidation.
2. Make sure you apply to both sides of window (exterior and interior) If you can, have someone help you by being on the opposite side of the surface being restored. Have them hold a hard flat surface such as a poly cutting board to the window area. This allows you to exert maximum pressure on the surface. (it is both a mechanical and chemical process)

Acrylic-Wërks Instructions for Boat Curtains/Eisenglass
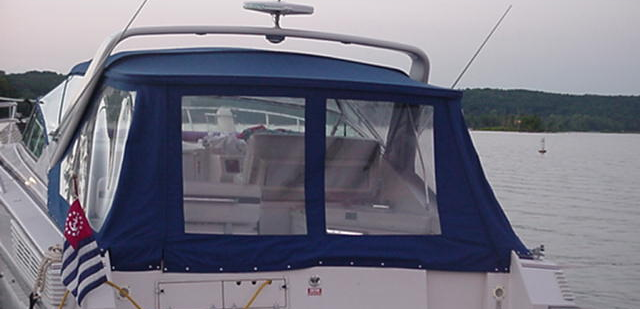
Window curtains (Eisenglass) on boats are a particularly tough issue to deal with. They (along with the entire boat) are subjected to sun, salt water (where applicable), and oxidation. Over time, these areas become cloudy, yellow, and generally unsafe with compromised visibility. They are also very costly to repair/replace.
Acrylic-Werks offers a cost-effective solution to restore these curtains and with a little time and effort, can restore them to a like-new clearness! (depending on condition)
Application instructions are generally the same as the basic application process, but here are a few tips to make the process go smoother.
- Apply in direct sunlight. (or when the surface is warm) It will make the job easier as the surface will be more porous and easier to remove oxidation.
- Make sure you apply to both sides of window (exterior and interior) If you can, have someone help you by being on the opposite side of the surface being restored. Have them hold a hard flat surface such as a poly cutting board to the window area. This allows you to exert maximum pressure on the surface. (it is both a mechanical and chemical process)
- If you have Eisenglass that is severely damaged and not responding to the normal process, put a thin coat of the Acrylic-Werks polish and leave it on for 5-10 minutes and then proceed as normal. This will allow the polish to break down the oxidation.


